 Take screenshots in Windows 10
Whether something funny happened on your PC's screen and you want to save it for later viewing or you need to show a friend how to do something on the computer, being able to take pictures of your display is a feature that will surely come in handy. Unfortunately, there are quite a few people who don't know how to do this in Microsoft's latest operating system, but don't worry: if you're one of them and you're interested in learning, here's how to take screenshots in Windows 10.
Before we begin, you should know that there are quite a few third-party applications such as SnagIt or HyperSnap that will offer this functionality and some of them are even free like LightShot or Screenshot Captor. However, if you don't have to capture lots of images on a daily basis, you don't actually need to install anything on your PC as you can easily make do with the embedded tools that Windows 10 provides:
The Print Screen button
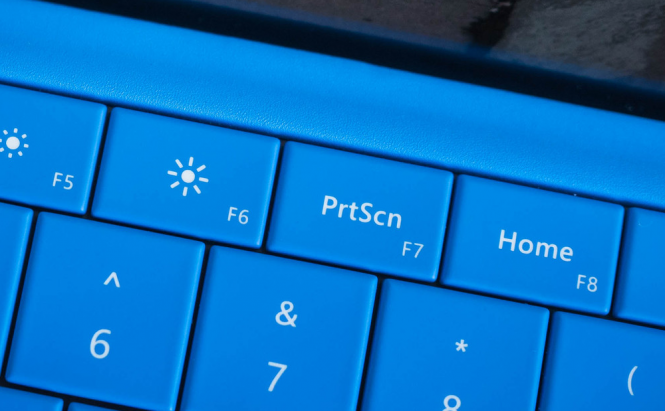
The easiest way to take screenshots is with the use of the Print Screen button, which is situated on the upper-right side of standard keyboards:
- Print Screen - captures an image of your display and saves it to the clipboard; to view, edit or save the picture, open the Paint application (Press Win + R, type mspaint and press Enter), the paste the image.
- Win + Print Screen - captures your entire desktop and automatically saves the image as a file in the default Pictures --> Screenshots folder.
- Alt + Print Screen - takes a snapshot of the window that's currently in focus and saves it to the clipboard.
- Win + Shift + S - if you've installed the Windows 10 Creators Update, this keyboard shortcut will let you select the screen area that you want to capture. The image is also saved on the clipboard.
The Snipping tool
By default, Windows 10 also comes with a Snipping Tool that gives you a lot of freedom with your screenshots. To launch it, simply click on the Start Menu, then start typing "snipping" (without quotes) until the Snipping Tool appears in the Best Match section, then click on it. To use the application, bring up the Mode drop-down menu, then choose between full-screen screenshots, window pictures, rectangular area captures or free-form area snips and press the New button to take the shot. Additionally, you can set a delay timer for your screenshots, annotate the captured images and save them locally or share them via email.
Game DVR
My least favorite solution is the Game DVR option in the Xbox menu. First, you will need to enable the Take screenshots using Game DVR option from Game DVR section in the Xbox settings, then you should set your desired keyboard shortcut (it's Win+G by default; you can leave it like that if you like it) and your pictures will be saved as PNG in the Windows default Videos-->Capture folder.
Unfortunately, when it comes to recording videos from your screen, Windows 10 doesn't offer as many options, but as you can see, taking screenshots is quite easy and now you know how to use the embedded options.


