 How and why to run Check Disk on Windows
Running CHKDSK (Check Disk) is essential for maintaining the health and performance of your Windows system. Basically, the utility tidies things up, and fixes minor-to-moderate issues a hard drive can develop. Here’s a summary of what CHKDSK does.
- Detects (and repairs) file system errors that stem from improper shutdowns, software crashes, or system malfunctions.
- Identifies bad sectors that cannot reliably store data, and marks them unusable to prevent data loss.
- Frees up space and optimizes file storage, which translates into faster operation of your PC.
- Ensures data integrity in general helping the computer to run flawlessly as long as possible.
Ways to run CHKDSK on Windows
As is the case with most other built-in utilities, Microsoft designed several ways to launch Check Disk in Windows.
File Explorer
- Open it by pressing Windows + E or double-clicking the respective icon.
- Right-click on the drive you want to check, select Properties in the menu.
- Switch to the Tools tab there, and click Check in the Error checking section.
Command prompt
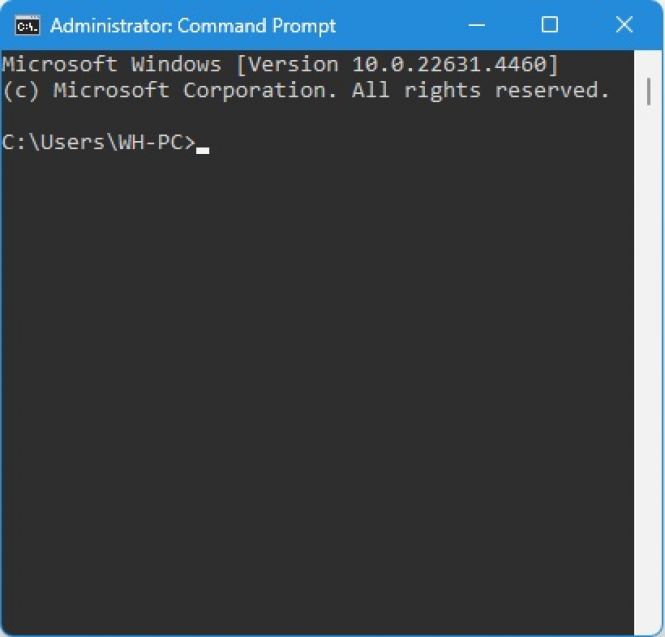
- Open the Start menu, type “cmd,” right-click the Command Prompt entry and select Run as administrator.
- Type chkdsk C: /f and press Enter (C: is the common letter for the computer’s main drive; replace it with the appropriate designation of another drive you wish to check).
- If the system replies that the drive is in use, type Y to schedule the scan for the next restart.
Running Check Disk from PowerShell, a popular terminal tool in Windows, is similar to launching the utility from the command prompt.
Check Disk parameters
You’ve noticed “/f” in the prompt above; it is one of the 10 parameters of Check Disk that make it a flexible and versatile drive management tool. Here’s what each parameter tells CHKDSK to do.
/f – fix encountered errors.
/r – find bad sectors and recover readable information from them; this one includes capabilities of /f.
/x – force dismount the drive; does the /f routine, too.
/v – display full path to and name of every file that’s being checked at the moment.
/b – (NTFS only) clear the register of bad clusters and rescan all allocated and free clusters for errors; also does the /r routine.
/i – (NTFS only) quick check, done faster, but somewhat superficial.
/c – (NTFS only) skip checking cycles inside a folder hierarchy to reduce time of the operation.
/scan – (NTFS only) scan a volume without dismounting it.
/spotfix – (Windows 10 and later) repair found problems without a full scan.
/forceofflinefix – queue issues to fix them later; with /scan.
It is possible to run CHKDSK with several parameters simultaneously. In fact, it’s a recommended approach. You can skewer all of them, but typically, an effective Check Disk command prompt is this:
chkdsk C: /f /r /x
It lets you thoroughly check the drive and fix whatever needs fixing in a proper way.
Do I need to run Check Disk for SSD?
While not really necessary, running CHKDSK for an SSD can help in a couple of ways.
Ensuring file system integrity. SSDs are much less likely to corrupt, yet, unexpected shutdowns, crashes, or power failures are harmful for them, too. CHKDSK remedies logical file system errors associated with them.
Bad sector detection. Again, SSDs can deal with this problem on their own through wear-leveling and error correction, but Check Disk still helps identify any problematic areas on the drive.
This said, the frequency of running CHKDSK for a solid-state drive should be around once or twice a year. Just to make sure everything is as fine as it should be.
CHKDSK was first introduced by Microsoft as far back as in 1983, and it has been an integral part of Windows ever since, evolving with the OS. If you want a second opinion or something more advanced, check out the respective section of the Informer catalog:


